Want peace of mind, you will enjoy Fastlane | Xcode Project Setup Series

In this article, we will go through Fastlane’s installation process and its basic functionalities
What is Fastlane & why would someone want to use it
Fastlane is an open-source platform aimed at simplifying Android and iOS deployment. Fastlane lets you automate every aspect of your development and release workflow.
How to install and setup Fastlane in your project (macOS)
If you bump into any kind of issues not addressed in this article, please check this link for the definitive guide.
- Setup Xcode for Fastlane
First, make sure you have Xcode command line tools installed by running the command below in terminal.
xcode-select --install- Install Fastlane
You will need Ruby to install Fastlane on macOS. Luckily for you, Ruby is installed by default on macOS. You could also install Ruby using Homebrew but I wouldn’t recommend it.
Run the command below and if everything goes as planned you should have Fastlane installed into your system.
sudo gem install fastlane- Setup Fastlane in your project
Once successfully installed Fastlane, open the Terminal app, head to your project directory, and run the command below.
fastlane initPresuming that the script runs successfully you will be presented with four options. Hit 4 and then enter.
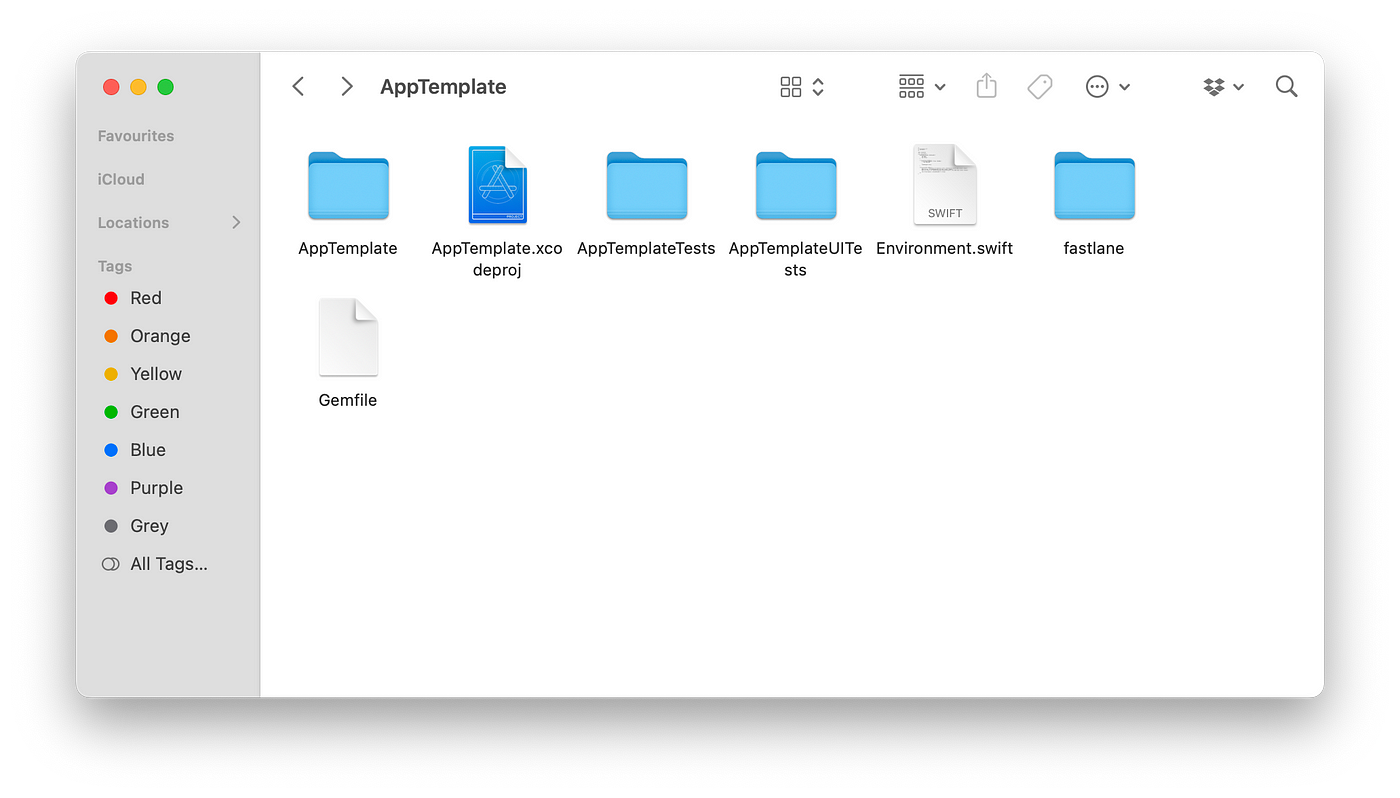
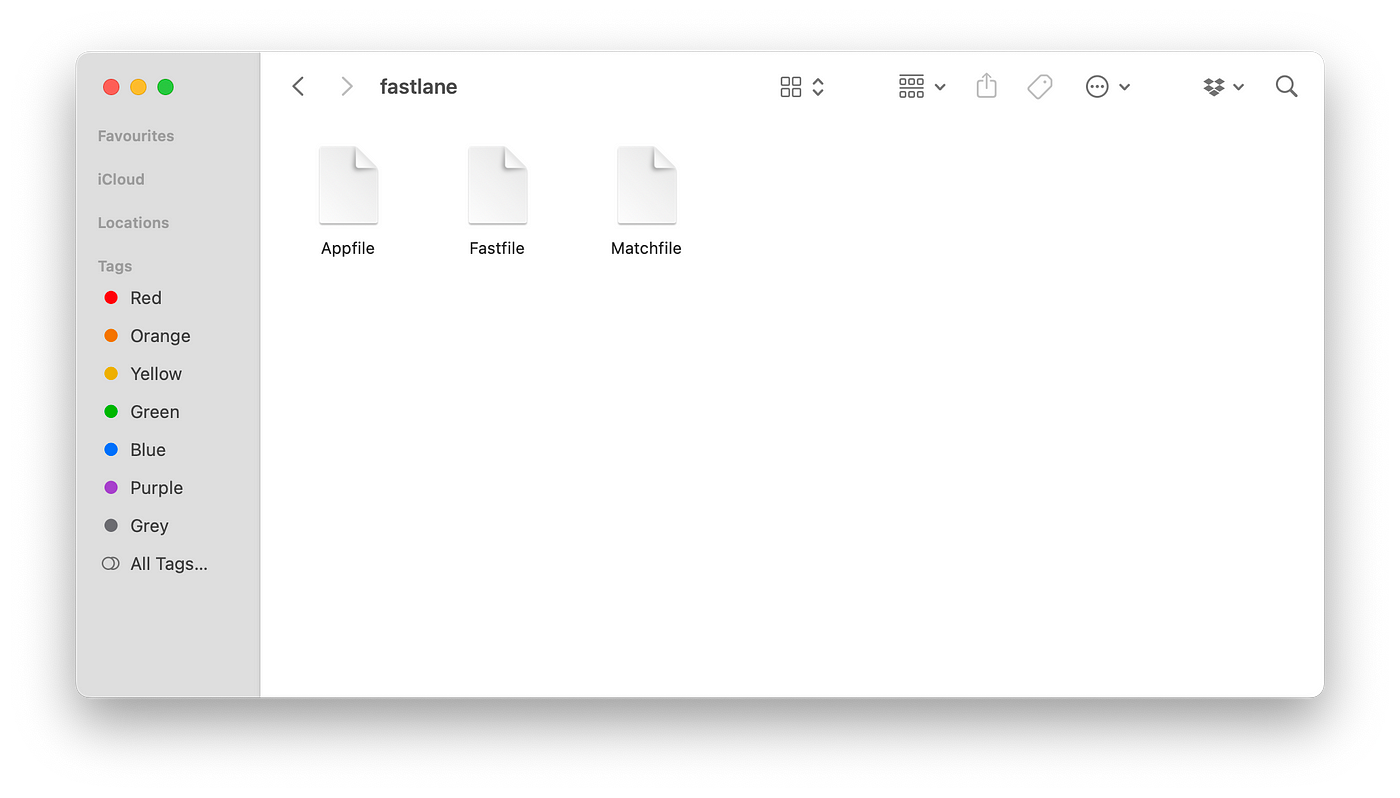
Finally, a folder named fastlane should have been installed on your project’s default directory. The folder should have two files
- Appfile (environment variables)
- Fastfile (lanes: functions)

Using Fastlane
Prerequisites: AppleID and Apple Developer Program
- Registration (produce)
- Team setup (cert, sigh, match)
- Testing (scan, gym, pilot)
- Distribution (snapshot, deliver, frameit)
Registration
produce creates new iOS apps on both the Apple Developer Portal and App Store Connect with the minimum required information. Go on and try it!
fastlane produceThe command above will prompt you to enter some info in order to do its job. There is an alternative to the command above which will save you from the effort of entering the info manually. Copy and paste the code below to the Fastfile and, enter your own info.
default_platform(:ios)
platform :ios do
    lane :register_app do
        produce(username: "usename@email.com",
            app_identifier: "com.lane.someApp",
            app_name: "SampleApp",
            team_name: "My Team",
            itc_team_name: "My Team Name"
        )
    end
end
With the addition of the code above you can just run
fastlane register_appThis time it will run without prompting for any info. The same can be done for the other default commands.
You can verify if the command did work by visiting AppStoreConnect and checking if an app with the name provided above was created.
For the sake of keeping this article reasonably short, I will hereafter only write about the default commands.
Team setup
cert and sigh are 2 actions that are used for creating and installing Certificates, Provisioning profiles automatically and easily.
cert will create an iOS code signing certificate and then sigh will create a provisioning profile for your app
fastlane certfastlane sighcert and sigh helps elegantly automate, obtain, store, and manage these resources. And yet, even with all of that, the certificates and profiles certand sigh delivered were still the property of just one individual developer. They’re stored on top of her or his developer’s machine, and they’re tied to that person’s personal account. Now, this works great when you’re a team.
Well in that case match comes to the rescue!
Caution! Private keys, profiles, and certificates are obtained from Apple, encrypted, and stored in the private repo when using match.
fastlane match initYou will be prompted to choose from a list of types of repos. Once done enter the URL of your repo and you are good to go. A new Matchfile will be created inside the Fastlane folder.

We’re now ready to set up a completely new set of development assets, encrypt and upload them to our Git repo, and then, store the decrypted keys locally. All it takes to do all this in the command line is a simple command. When we run this, you’re prompted for a passphrase for encryption.
fastlane match developmentfastlane match adhotfastlane match appstoreTesting
scan makes it easy to run tests of your iOS and Mac apps on a simulator or connected device.
fastlane scangym builds and packages iOS apps for you. It takes care of all the heavy lifting and makes it super easy to generate a signed ipa or app
filefastlane gympilot makes it easier to manage your app on Apple’s TestFlight. You can:
- Upload & distribute builds
- Add & remove testers
- Retrieve information about testers & devices
- Import/export all available testers
Check the comprehensive guide for pilog
Distribution
snapshot generates localized iOS, tvOS, and watchOS screenshots for different device types and languages for the App Store and can be uploaded using (deliver).
deliver uploads screenshots, metadata, and binaries to App Store Connect. Use deliver to submit your app for App Store review.
frameit allows you to put a gorgeous device frame around your iOS, macOS, and Android screenshots just by running one simple command. Use frameitto prepare perfect screenshots for the App Store, your website, QA, or emails.
In Conclusion
Fastlane is a “must” for any iOS app. It can save you time and headaches. Another cool thing you can do is integrate Fastlane into your CI. Now, how cool is that?
If you are interested in reading more about Xcode project setups please consider checking out my previous articles: